Shooting a video for TV and WEB can expand your production necessities.
For example, a video for web is usually shot in a progressive format. Video for Broadcast TV is generally shot in an interlaced format. I won't get into the specifics about the difference between both formats, but to summarize; Each frame of progressive video is a complete image, whereas each frame of interlaced video holds 'field information' for two fields (Upper & Lower). Here are a couple wikipedia links:
http://en.wikipedia.org/wiki/Interlaced
http://en.wikipedia.org/wiki/Progressive_scan
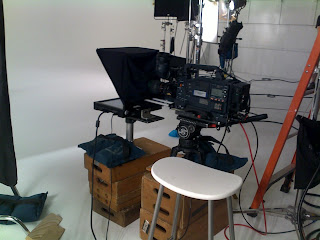
So, today we shot a marketing video using the Panasonic HDX900 in 720p24 format.
This means the video was shot at a resolution of 1280x720 (a form of HD) at a progressive-scan frame rate of 24 fps (frames-per-second).
We will be editing it down to a 720x480 Flash Video (FLV, YouTube style) for the client's website before the end of August.
It was a great shoot with a great crew! Since I haven't told them all about the new blog, I won't go into names just yet, but I will say everyone is a true professional.
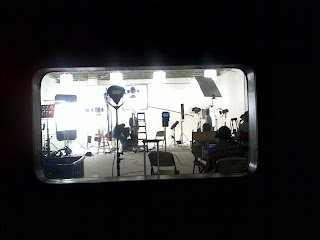
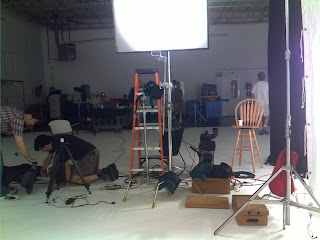
I have attached some pictures from the shoot for your viewing pleasure.
More to come later!
John


hey I did a similar project, but our crew was not half as good as yours was. Our lighting guy changed the light for every person, so some of our white backgrounds have darker spots in the corners for each talent. It's a commercial for broadcast shot at 720p24 frames and will be broadcast at 30 frames in SD. Any tips on how to fix the dark spots on the white background? I was thinking of throwing a white matte to cover the dark spots. Do you think the matte would look bad if it's broadcast?
ReplyDeleteKatie - Thanks for your comment! I almost didn't notice it way back here on this posting :)
ReplyDeleteHere are a few tips I have come up with to help you with your dark spots, hope they help.
Tip #1 - Inside your editing application, duplicate the layer containing the shot with dark corners and place it above that layer on your timeline. CROP the duplicated layer so that only WHITE is showing. Then move the 'Strip of white' to the edge of your frame. You may have to 'feather' the edges. This should cover your dark spots.
Tip #2 - Try using color correction to increase the white value / image brightness. Use a 3-way color corrector and boost the mids and highs. This may wash out your subjects a little bit and should be used as a last resort.
Tip #3 - Take a STILL FRAME of your shot containing dark spots. Open it in photoshop. Create a new layer that contains circularly gradated white and place it over your dark spots. Export as .PNG and place on the layer above your shot containing dark spots. Render.
Let me know if these worked for you! Thanks, Katie!